Advanced Leathercraft Techniques for Better Handmade Projects


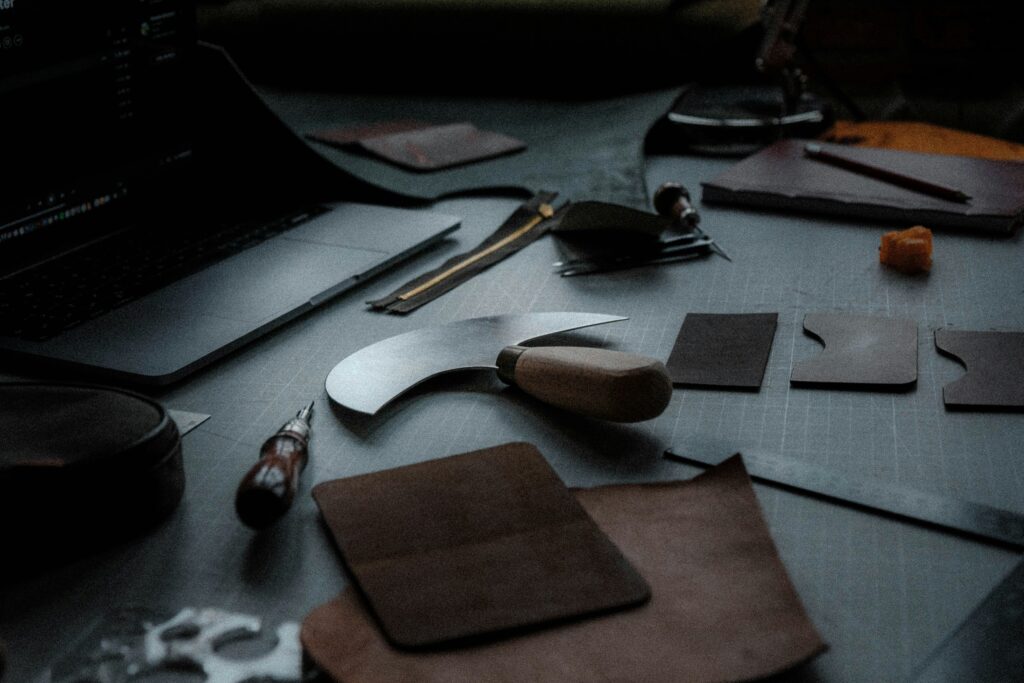
Leathercraft becomes more exciting when basic skills start to feel natural. You may already know how to cut leather, make stitching holes, and finish a simple edge. The next stage involves improving accuracy and learning methods that give your work a cleaner appearance. Advanced leathercraft does not require complicated ideas. It requires patience, careful practice, and attention to small details.
Better technique also gives you more freedom to create original pieces. You can build stronger wallets, bags, belts, cases, and other handmade goods by understanding how leather responds to different processing methods. Each project gives you a chance to improve. The following advanced leathercraft techniques can help you produce more polished work while developing greater confidence in your skills.
Choose Leather Based on the Project
Experienced leatherworkers think about function before choosing material. Leather varies in thickness, softness, surface texture, and flexibility. A firm piece may work well for a structured belt or case. Softer leather can be a better choice for bags and items that need natural movement. Selecting the right material makes every later stage easier.
Inspect the leather before placing your pattern. Look for scars, loose areas, uneven surfaces, and sections that stretch more than others. Decide where each part of your project should sit on the hide. Careful placement helps you use strong areas for important pieces. It also reduces waste and improves the appearance of the finished item.
Create More Accurate Patterns
A good pattern provides the foundation for clean leatherwork. Small measurement errors can cause serious problems when several parts need to fit together. Draw your pattern carefully and include clear marks for folds, stitching lines, pockets, closures, and hardware. Check the measurements before transferring anything to leather.
Test new patterns with inexpensive material before using quality leather. Thick paper or card can help you check proportions and alignment. Fold the test pattern and place the pieces together as they would appear in the final product. This simple process can reveal design problems early and save valuable material.
Develop Greater Control When Cutting
Clean cuts make stitching, gluing, and edge finishing easier. Keep your cutting blade sharp and work on a stable surface. Use steady pressure rather than forcing the knife through the leather. Several controlled passes often produce cleaner results than a single aggressive cut, especially with thick material.
Curves require a slightly different approach. Move slowly and adjust the leather when needed so your hand remains comfortable. Avoid twisting the knife sharply around tight corners. Practice difficult shapes on scraps first. Greater cutting control helps parts fit together correctly and reduces the amount of trimming needed during assembly.
Improve Your Hand Stitching
Strong stitching should also look balanced. Mark the stitch line at an equal distance from the edge. Create evenly spaced holes and keep the tool straight as you work. Consistent preparation makes it much easier to produce a neat seam.
Pay close attention to thread tension while stitching. Pull each stitch firmly, but avoid using unnecessary force. Too much tension can change the shape of thinner leather. Too little can leave loose sections. Follow the same hand movement for every stitch. A steady rhythm will help both sides of the seam look more consistent.
Learn to Reduce Bulk in Layered Areas
Many advanced projects combine several layers of leather. Wallet pockets, folded edges, straps, and bag sections can become thick when these layers overlap. Carefully thinning selected areas can create smoother joins and make the finished product more comfortable to use.
Remove small amounts of material at a time. Focus on edges, folds, and areas where several pieces meet. Keep the cutting tool sharp and maintain a controlled angle. Practice this technique on spare leather before using it on an important project. Gradual work gives you more control and reduces the chance of making the leather too thin.
Create Smoother and Cleaner Edges
Edges often determine whether a leather item looks unfinished or carefully crafted. Start by making sure joined layers sit evenly. Trim obvious differences, then sand the edge until it feels smooth. Work gradually and check the shape often so you do not remove too much material from one area.
You can polish the prepared edge for a traditional appearance or apply edge color for a modern finish. Whichever method you choose, thin applications usually provide better control. Allow each layer to dry properly before continuing. Careful preparation matters more than trying to finish the edge quickly.
Add Depth With Leather Shaping
Shaping leather allows you to create forms that flat construction cannot provide. You can use this technique for small cases, trays, pouches, and fitted holders. Certain firm leathers become easier to shape after absorbing a controlled amount of moisture.
Work the leather around a smooth form and apply pressure gradually. Avoid soaking it more than necessary, as excessive water can affect the surface and final shape. Keep the leather in position while it dries. Once dry, it can retain the new form and give your project a more structured appearance.
Make Interior Sections Look as Good as the Outside
A polished exterior loses some of its impact when the inside looks unfinished. Give pockets, dividers, and linings the same care you give visible outer panels. Measure internal sections accurately and check how they fit before permanent assembly.
Think about thickness when several pockets sit on top of one another. Reducing unnecessary material near hidden overlaps can keep the interior slim. Smooth exposed pocket edges before assembly when they will be difficult to reach later. A clean interior makes the entire product feel more complete.
Improve the Way You Attach Hardware
Buckles, snaps, clasps, rings, and other hardware can add useful features and visual character. Their position needs to be accurate. Measure carefully before making any holes because moving hardware after installation may leave permanent marks.
Consider the pressure that hardware will place on the surrounding leather. Areas that experience frequent pulling may need extra support beneath the surface. Add that support during construction rather than after the project is complete. Secure hardware should function smoothly without pulling the leather out of shape.
Use Decorative Details With Care
Decoration can give handmade leather goods a distinct personality. Simple lines, stamped patterns, carved details, or changes in surface color can make a project stand out. However, decoration works best when it supports the design rather than covering every available area.
Plan decorative elements before assembly. Test pressure, spacing, and color on a spare piece of the same leather. This step shows you how the material responds and gives you a chance to make adjustments. Clean, balanced decoration can add character without detracting from the quality of the construction.
Build Better Habits During Assembly
Advanced leathercraft depends heavily on the order in which you work. Some edges need finishing before other parts are attached. Certain pockets need stitching before the outer panels come together. Planning these stages early prevents you from reaching areas that are difficult to finish later.
Check alignment each time you join two components. Correct a small problem immediately rather than hoping it will disappear in the next stage. Keep your workspace clean so scraps, glue, or finishing products do not damage visible surfaces. Good habits reduce mistakes and make complicated projects easier to manage.